Tuesday, November 10, 2015

How to climb Mt. Fuji

Quick list of questions I asked before climbing the Majestic Mt. Fuji. Hope you find it useful.


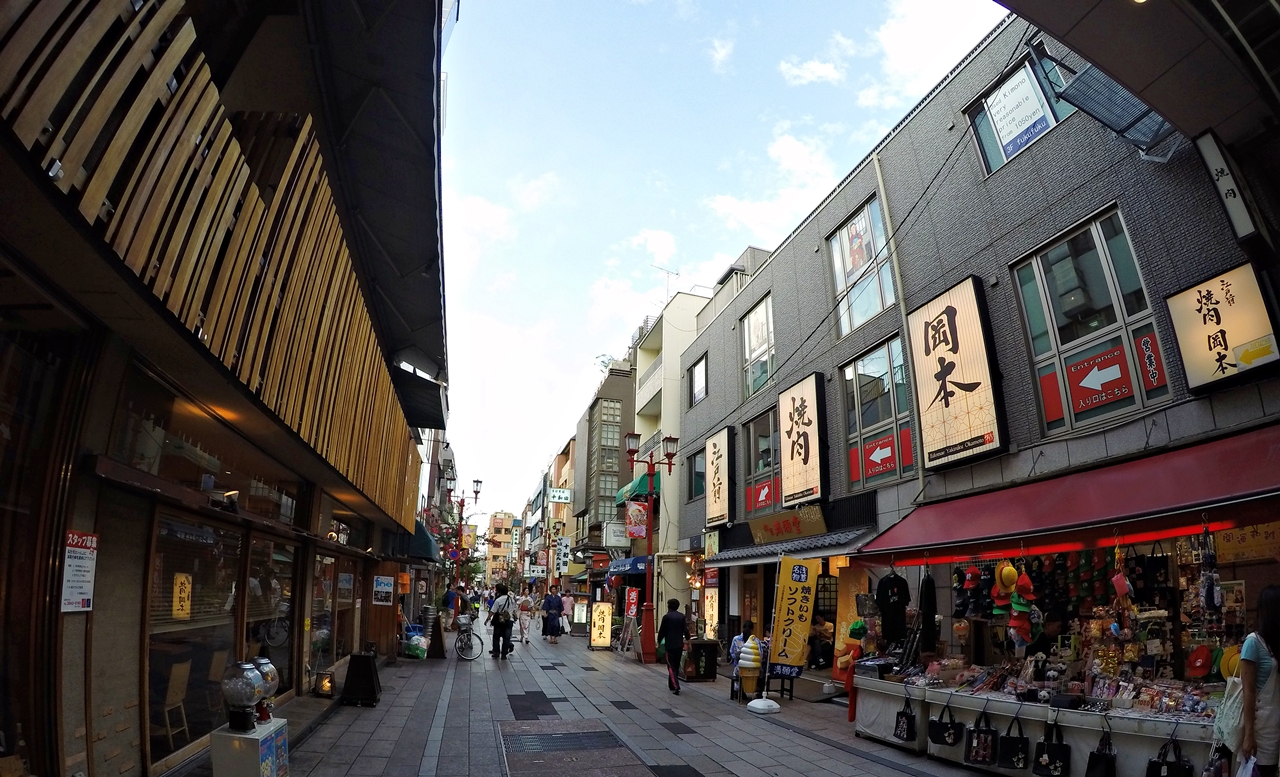
Mid afternoon in Mt. Fuji


Do I need to join a tour group?

No, I climbed Mt. Fuji alone and just made friends along the way.


Won't I get lost if I don't join a guided tour?

No, the Yoshida trail is well established and excellently marked. I took the Yoshida trail since this has the most people, which means lower chances of getting lost.


How many trails are there?

There are four, Yoshida, Subashiri, Gotemba, and Fujinomiya. Each once has different characteristics and jump-off points. If it's your first time I highly suggest you take the Yoshida trail, especially if alone. More info on each trails here


Trail map on Yoshida jump-off


Is there an entrance fee?

No, despite the beauty of Mt. Fuji they don't charge you for climbing it. You may opt to donate ¥1,000 for its preservation and you get a badge. Note however that you need to pay ¥200 when using restrooms along the trail. These are maintained independently by mountain hut owners. 


Can I climb any time? 

Unfortunately no, official climbing season is only July til September each year for safety purposes as snow builds up at the summit.

Yoshida Trail  (Yamanashi pref side):July 1 - September 14 

Subashiri Trail(Shizuoka pref side) :July 10 - September 10 

Gotemba Trail (Shizuoka pref side) :July 10 - September 10 

Fujinomiya Trail(Shizuoka pref side) :July 10 - September 10 

If you decide to climb outside the official period, you'll be on your own without any first aid centers opened nor mountain huts to stay in. 


Do I need to stay in a mountain hut?

No, but I highly recommend you do, or at least stay in one for a while to get a drink/eat noodles to warm the body. If you opt not to make sure you bring appropriate warm clothing for the extremely cold weather at the top. 

I paid the price for being unprepared as my body was chilling like crazy. I ignorantly assumed that the cold will be tolerable since it was around 28C° to 31C° in Tokyo. When we got to the summit of Fuji it was around 4C° to 5C° with intense windchill that made the situation worse for me! 

This is probably nothing for some people, but I live in a tropical country where everyday is 28C° to 31C° with 90+% humidity. I hate Manila weather but during those hours I wished to teleport back when I was almost dying from the wrath of Mt. Fuji's chilly winds. 


Tokyo to Mt. Fuji: Transportation Guide


How do I get to Mt. Fuji? (from Tokyo)

Several options, and it depends on which city you're coming from. I was coming from Tokyo so the best deal for me was the JR Fuji pass


JR Fuji Pass


The pass costs ¥5,600 and can be used for 2 consecutive days. Cheapest I found if you did it on your own is ¥7,020 not including getting to Shinjuku station. Basically this is what it includes.


Day 1 (Going to Fuji)

1. Train ride on all JR trains within Tokyo. This will help you get to Shinjuku station where you board the Limited Express train bound for Otsuki. 

2. Train ride on Limited Express trains going to Otsuki station where you will take the Fujisan Express.


Line at Otsuki Station


Board the Fujisan express, during Obon it gets crowded. I stood up during the whole ride.


Thursday, October 22, 2015

Japan Day 3: Tokyo - Asakusa

Got off at Asakusa station to have a quick stroll in Asakusa area before heading back home to have dinner with my hosts. You just gotta love the public transport system in Japan. Almost all tourist spots are within a few hundred meters away from a train or subway. 


Series of shops leading to Asakusa


Nice scenic walkway, suggest you take this street versus the really crowded main street. Just take main street on your way back. 


Lots of shops selling different goodies


Minimalist yet beautiful architecture


Old world charm


As you walk down further you will see the hordes of tourists swarming the temples. Albeit, it was still peaceful. 


Such intricacies in design

Wednesday, October 21, 2015

Japan Day 3: Tokyo - Harajuku

After a hearty bowl of ramen I dropped by Harajuku with no clear purpose other than to go there for the sake of it. 

I've little interest in Japanese teen culture nor shopping, which is what this district is known for. Nevertheless it was a nice stroll along the vibrant shops, crepe-filled aroma air, and artsy-fartsy decors of Harajuku.    


Shopping everywhere, ladies would be pleased


Alleys of shops


Nice window art


Rain looms over the skies

Japan Day 3: Tokyo - Ichiran Ramen

After Meiji Shrine I head out to grab a bowl of the famous Ichiran Ramen. I went to the branch near Shibuya station. They have several branches across Tokyo and other cities in Japan. 

How to get to Shibuya Ichiran Ramen


If you're heading to the Shibuya branch and don't have access to google maps, here are your landmarks. It's quite easy to miss as they are located in the basement, especially if you are not familiar with the Ichiran Ramen logo. 

Look for Karaoke sign, right below you'll see the red Ichiran Signage


Another good landmark, Ichiran is across this building


Head below


Queue up

Ordering Ramen for first timers


I was lucky I only waited in line around 10 minutes that day. I came around 1:30 PM. Lines are usually longer and can take you around 30 minutes to get seated. 

Once inside, order via the vending machine. This type of ordering is found almost in all ramen shops I've tried in Japan. Don't panic it's easy:

1. Choose a Ramen size, either 790yen or 910yen. No difference in flavor.

2. Choose any extras you want, like meat, tamago(egg), noodles, onions, etc. Note that it already comes with meat and onions. Don't worry too much about extras at this point, you still have the chance to order later.

3. Take out the coupon from the machine, you will give this to the server. In turn she will give you a slip of paper for you to fill-out. 

Ramen Ordering Vendo


Tuesday, October 20, 2015

Japan Day 3: Tokyo - Meiji Shrine

One of the top hits in google for places to visit in Tokyo is the Meiji Jingu. It is an extensive garden with a Shinto shrine in the middle dedicated to the great Emperor Meiji who supposedly helped build Japan into the prosperous nation it is today. 


There weren't much people entering through the Torii gate near Kita-Sendo station. So you can take tons of shots here, but note that the Torii gate is much smaller compared to the one near Harajuku station. From here on you can walk right and pass through a garden, Homotsuden(treasure musuem), and head towards the middle for the actual shrine.


Japan Day 2: Tokyo - Shibuya, Hachiko, and an Izakaya

Shibuya Crossing


Friends in Tokyo say it's strange why Shibuya crossing has become a tourist attraction. You'd see there a bunch of tourists taking selfies as people cross the street. Strangely enough despite the huge number of people crossing, it's not an ire to walk along and everything is still in an ever orderly Japanese manner. 


Hachiko


Right next to the crossing is the statue of the famous "Hachiko". Sorry for being such a tourist and posing next to him. 


First time Izakaya


After quick snaps, my friend and I headed to an Izakaya where we drank and dined for a good 3-hours. These Izakayas in Japan are sort of like buffet gastro-pubs where you order ala-carte style and is given an amount of time to stay in a restaurant.

He introduced me to edamame (young soybeans) which is quite common as an appetizer in Japan. You don't eat the whole thing! Just pop out the beans inside and discard the pod. I liked it a lot! Good texture and flavor from the salt. My favorite version was the one in Asakusa which was wasabi flavored. 


Edamame with salt